Get started with kept
Five minutes to set up. Two more to connect your AI. Follow the steps in order and you'll finish with your purpose written, your ring filled and your first promise on the books.
Part 1 · 5 minutes
Set up kept
Do these once. The first three are what make kept work for you.
Create your account
Go to iskept.com and tap Start free. Enter your first name, email and a password, then tap Create my account.
Confirm your email
Open the email from kept ([email protected]) and tap the confirmation link. Then sign in. No email after two minutes? Check spam or promotions.
Write your purpose
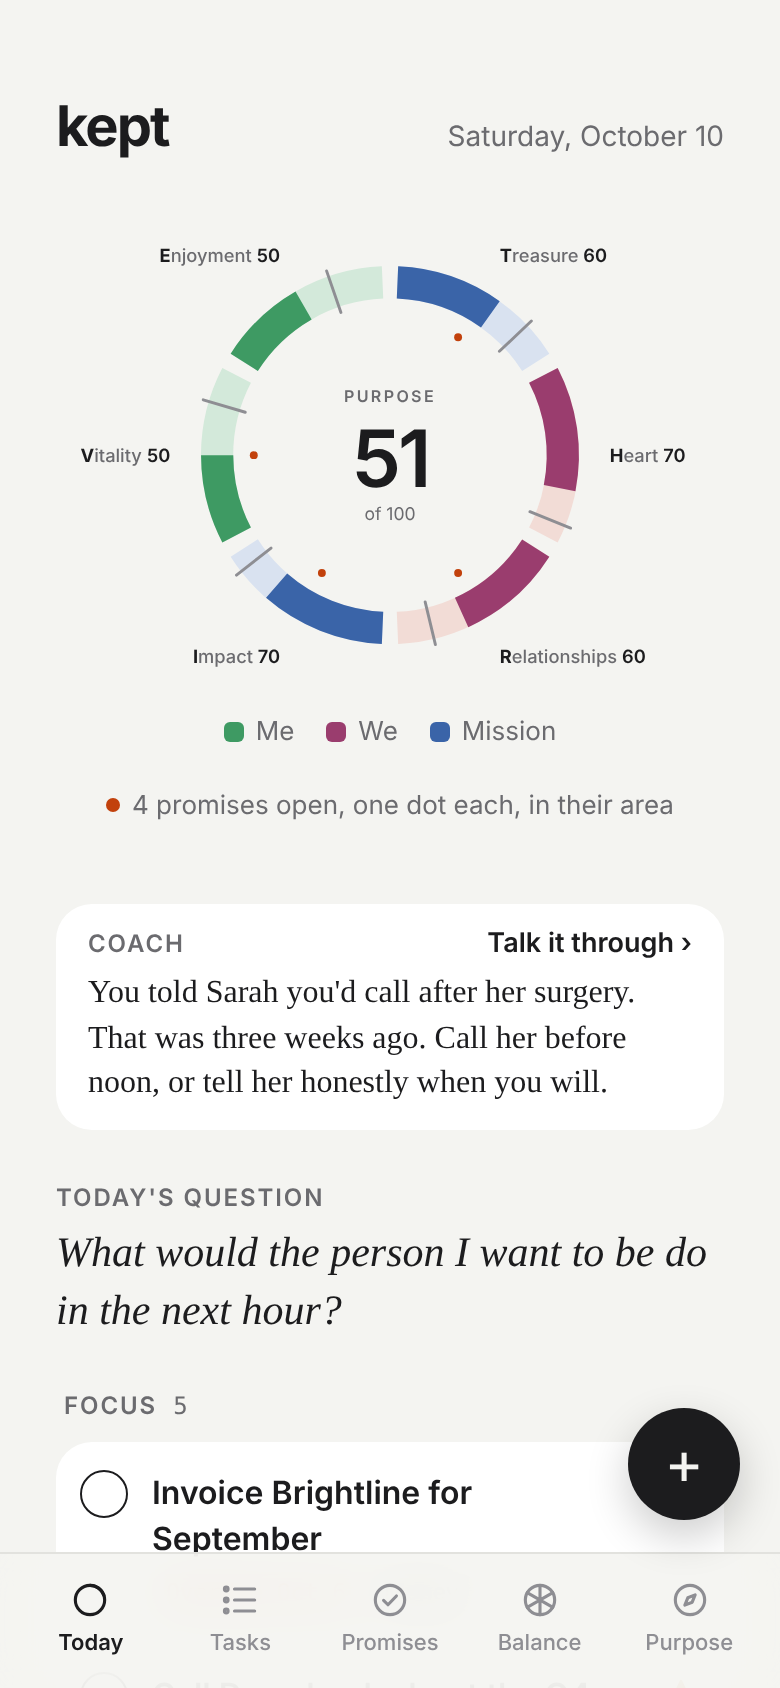
On the Today screen, tap Write your purpose in the Start here card. One sentence about why you do what you do. You can change it any time under the Purpose tab.
Take your first check-in
Tap Take your first check-in. Rate where you are and where you want to be in six areas: Treasure, Heart, Relationships, Impact, Vitality and Enjoyment. It takes two minutes and fills your ring on the Balance tab.
Add your first promise
Tap Add a promise. Pick something you said you'd do that isn't done yet. Write who you gave your word to, what it's costing you, and the new promise that puts it right. Start with the one you've been avoiding.
Add your tasks
Tap + on any screen to add a task. Star up to five you're working this week and they collect under Focus on Today.
Meet your coach
Tap the Coach card on Today. The first time, it asks permission to be direct with you. Say yes once and it holds until you turn it off under Purpose → Account. You get a note every morning and 8 deep sessions a month.
Part 2 · 1 minute
Put it on your phone
kept runs in your browser. Add it to your home screen and it opens like any other app, full screen, no app store.
iPhone or iPad
Open iskept.com in Safari and sign in. Tap the Share button (the square with the arrow), scroll down, tap Add to Home Screen, then Add.
Android
Open iskept.com in Chrome and sign in. Tap the ⋮ menu, then Add to Home screen or Install app, then Install.
Part 3 · 2 minutes
Connect Claude
Once connected, you can just talk to Claude: "What am I out on this week?" or "Add: call the accountant Friday." Claude reads and updates your kept live. It can add, change and complete things. It can never delete anything, and you can disconnect it any time.
https://iskept.com/mcpWorks on every Claude plan, including Free (Free allows one custom connector). Set it up once on the web or the desktop app and it's there on your phone too.
Sign in to kept first
In the same browser, sign in at iskept.com with the account you want Claude to use. Claude will connect to whoever is signed in there.
Open Connectors in Claude
Go to claude.ai or open the Claude desktop app. Open Customize → Connectors. On some accounts it's under Settings → Connectors.
Add a custom connector
Click + Add, then Add custom connector. Name it kept and paste the address:
https://iskept.com/mcp. Click Continue.Keep the sign-in settings
Claude detects kept's sign-in on its own. Leave what it fills in, choose Sign in now if it asks, and click Add.
Approve it in kept
A kept page opens. Check that it shows your email, then click Allow. You're connected.
Switch it on in a chat
Start a new chat. Click + at the bottom left, choose Connectors, and make sure kept is on.
Claude for Work (Team or Enterprise)? An owner adds the connector once under Organization settings → Connectors. Everyone else opens Customize → Connectors, finds kept, and clicks Connect.
Part 4
Try it
Open a new chat and say one of these.
Claude checked my calendar instead of kept
Say "check kept" in your question, or start a new chat so Claude picks up kept's latest instructions. Also check that kept is switched on under + → Connectors.
It's showing someone else's list, or nothing at all
Claude is signed in to a different kept account. In Claude, disconnect kept under Connectors. Sign out of iskept.com, sign back in with the right email, then connect again.
Claude says kept is disconnected, or asks me to sign in again
That happens after you change or reset your kept password: a new password signs out every connected AI, as a safety measure. In Claude, open Customize → Connectors, tap kept and connect again, then sign in. You only do this once per password change. Signing out of iskept.com does not disconnect Claude. You can see and disconnect your AI apps any time in kept under Purpose → Connect your AI.
Can my AI see everything in kept?
It sees what you see: tasks, promises, check-ins, purpose and values. It can add, change and complete. It can't delete. Your entries are never used for marketing. Privacy notice.
ChatGPT
Connect ChatGPT
Fair warning: this one is clunky
ChatGPT only allows custom connectors on a Business, Enterprise or Edu workspace, only on the web, and only after an admin turns on Developer mode. Personal plans like Plus can't add one right now. If you can choose, use Claude.
Have an admin turn on Developer mode
A workspace admin opens Workspace settings → Permissions & Roles → Connected Data and turns on Developer mode for custom MCP connectors.
Turn it on for yourself
In ChatGPT on the web: Settings → Apps → Advanced settings, then switch on Developer mode.
Create the app
Go to Settings → Apps → Create. Name it kept, paste
https://iskept.com/mcpas the server address, and pick OAuth for authentication.Sign in and create
Click Scan Tools. Sign in to kept when it asks, check that it shows your email, click Allow, then click Create.
Use it in a chat
Start a new chat and pick kept from the tools menu, or type @kept in your message. ChatGPT only uses it for that one message, so mention @kept again when you follow up. It asks you to confirm before it changes anything.